How to Create a Landing Page With MotoPress Content Editor
Table of Contents
No matter what type of website you have, or what is the purpose of the existing one is, there is a good chance it can be enhanced by adding a landing page. A landing page will help you get more social media followers, grow your email subscriber list, sell a product or service, or elicit any other response from your visitors. Want to learn how to create a landing page and achieve these goals easily? Read further!
When you can’t code one yourself, you are short on time or development skills, using a page builder plugin is another option. So now we will be looking at the features of MotoPress WordPress Page Builder plugin, as well as walking through the process of creating a custom sales page for your one page website without editing any code.
By the end of this article, you will know what this landing page builder tool can do and how you can use it to quickly build a custom WordPress landing page to increase your site’s goal conversion rate.
Why Use a Content Editor Plugin?
While some themes include a WordPress landing page template, many don’t, and even those that do often don’t give you much control over how your page will eventually look and what content it can include.
Due to this, turning to a third-party plugin that gives you the ability to build your own custom sales pages, through a visual drag and drop editor, starts to look like a very attractive option. You could hire a developer and designer to create your landing page for you.
However, if you prefer more hands-on role in the creation of your marketing material – not to mention the money and time-saving aspects – then using a purpose-built WordPress drag and drop page builder tool makes even more sense.
MotoPress Content Editor Features
The MotoPress Content Editor plugin is one WordPress drag and drop builder tool that can help you build custom layouts for your posts and pages.
Its main feature is a visual, front-end, drag and drop page builder interface. Through this interface, you can drag and drop a range of useful elements into your page and customize its layout and appearance. This plugin also includes a number of pre-built page layouts that will help accelerate the design process considerably.
This plugin will work with any WordPress theme and all of the layouts you build will be fully responsive to ensure your mobile visitors can make full use of your content.
Whether you want to create custom landing pages, bespoke homepages, or just more control over the layout of your posts and pages, the MotoPress Content Editor makes all of this possible.
How to Create a Landing Page with MotoPress Content Editor?
The MotoPress Content Editor plugin is an ideal choice for building a landing page for your WordPress website. If you have a product or service to sell, or an event or offer to promote, then a high quality-sales page can really help you get across its benefits to your target audience.
To help demonstrate the abilities of this plugin, I’m going to be building a landing page for my copywriting services that will be able to help me land more freelance clients from my WordPress website.
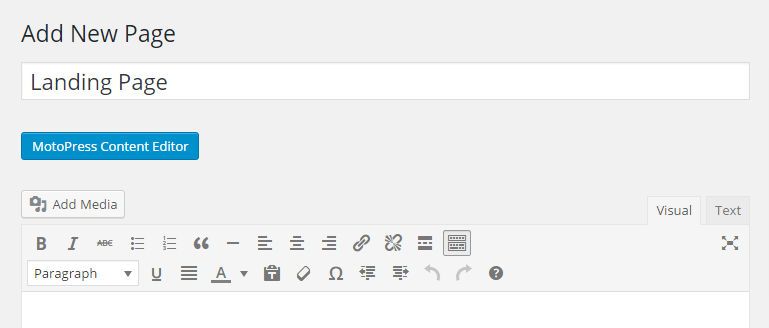
1. Choose a Prebuilt Layout
MotoPress Content Editor allows you to create custom layouts for your posts and pages. Therefore, to get started, you can either create a new post or page and then launch the editor by clicking on the appropriate button.
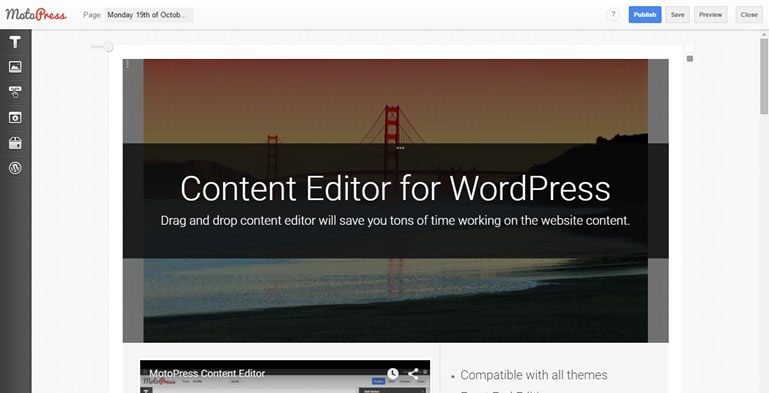
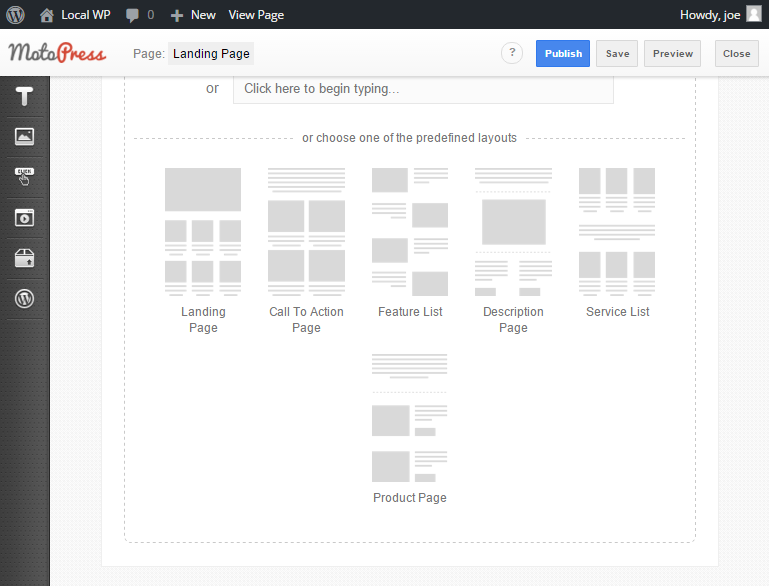
Once the editor has fired up, you get the option of choosing from one of the predefined layouts. These layouts cover a wide range of uses, including a landing page template.
2. Add Custom Content
After you’ve chosen a layout, you can then begin adding your custom content to the page template. As the plugin integrates with WordPress, adding images to your landing page templates is as simple as selecting them from the Media Library.
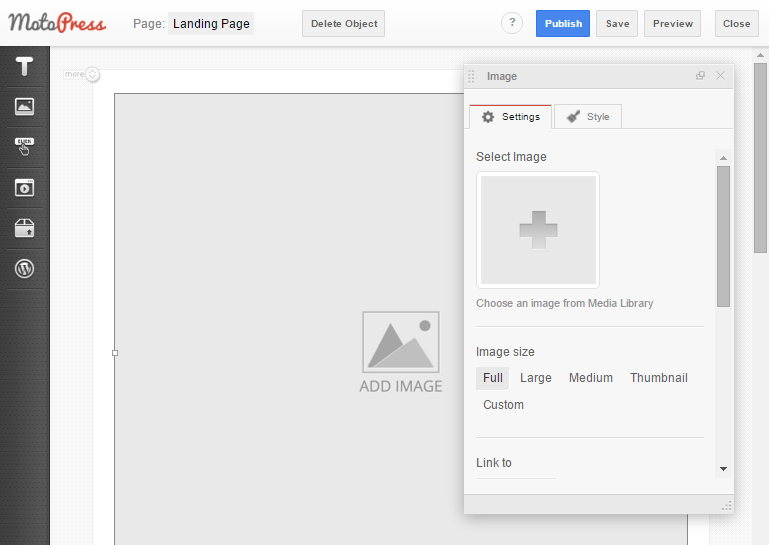
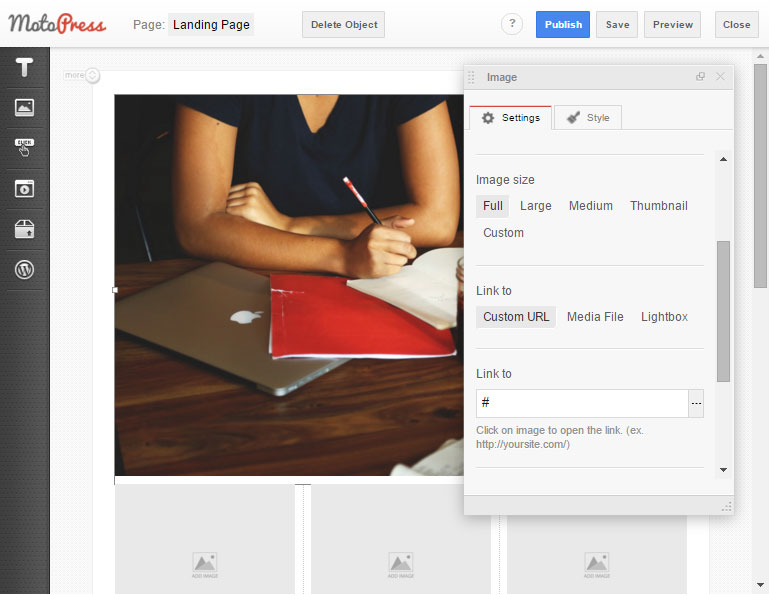
While adding media to a custom design of your WordPress landing pages, you can define its properties much like you would when adding an image to a regular WordPress post. This includes the size, link options, and more.
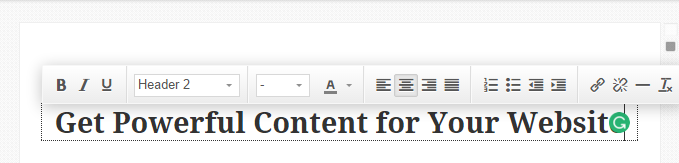
3. Edit the Existing Content
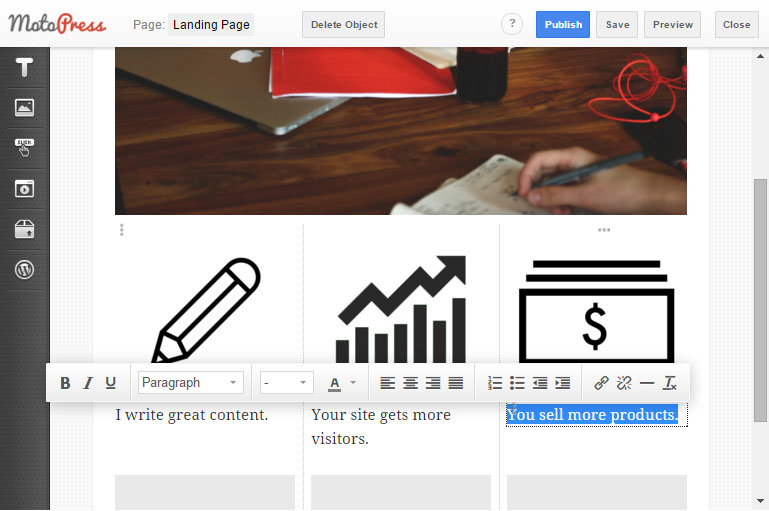
Editing text is just as straightforward. Simply click on the placeholder text and start typing. As you do so, you get a live preview of how your content will look, making the whole process very intuitive and streamlined.
4. Adding and Deleting Page Elements
If there are any elements of the layout that you want to delete, it’s just a case of selecting them and pressing the delete key on your keyboard. When it comes to adding your own elements to the layout, MotoPress includes a good selection of options.
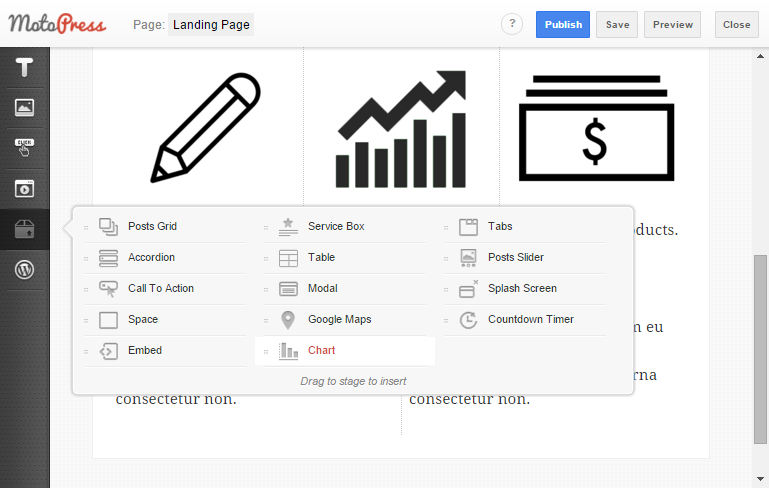
Mix and Match Page Elements
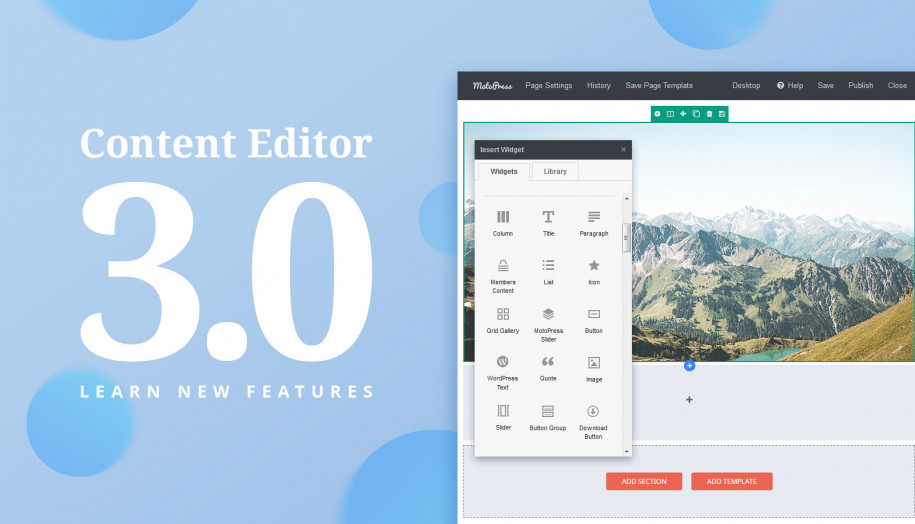
The elements of this WordPress landing page builder plugin are divided across six groups: text, images, buttons, media, page elements, and WordPress widgets. This means you add items such as headings, icons, content sliders, call-to-action buttons, videos, tabs, timers, and much more.
5. Customize the Page Elements
Any item you add to your layout comes with its own settings and controls. This helps you customize them as easily as possible. You are also free to add your own custom CSS to gain even more control over the appearance of your layout and its content. While this is a nice feature to have access to, it’s by no means something you need to make use of.
6. Add Your Own Custom Widgets
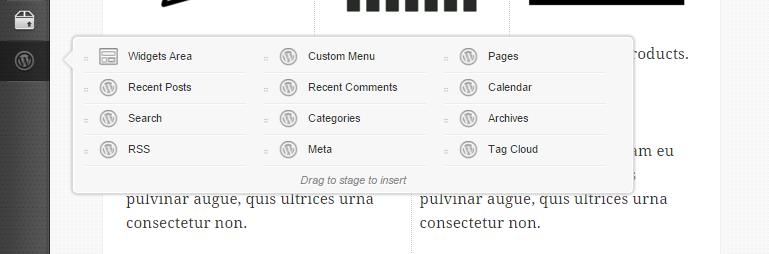
One particularly useful feature of this landing page builder is that you can add a widget area from your theme to your custom page layout. This means that any of the widgets that are active on your WordPress website, including those from other third-party plugins, can be added to your landing page or the other layouts you are working on.
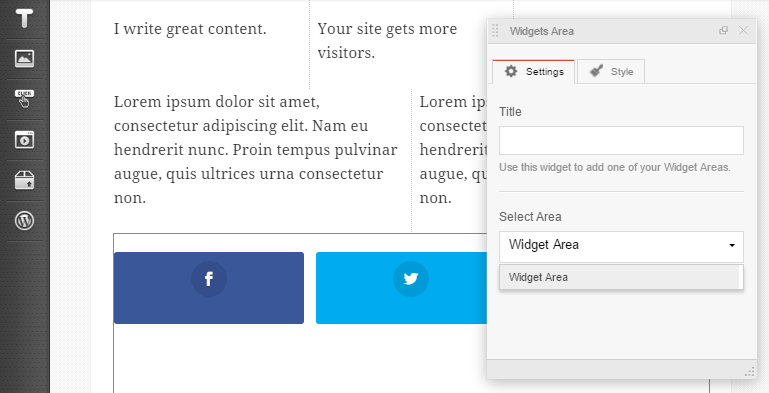
As you can see from the above screenshot, the widget area I’ve added to my layout includes the widget from a social sharing plugin that I’m also using on my site. Thanks to this feature of the Content Editor, there really is no limit to the type of content you can add to your custom page layouts.
7. Add More Page Elements
Every good one-page template needs a call-to-action button and with the MotoPress Visual Page Builder, adding one is as easy as dragging and dropping one into your layout.
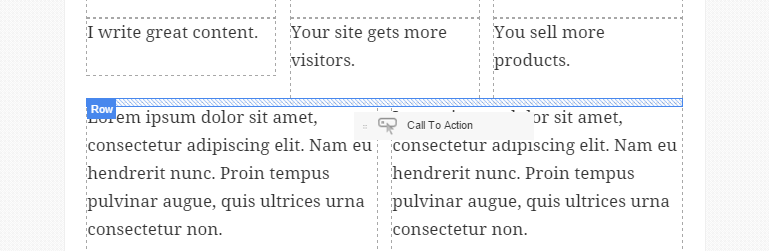
Depending on where you drop the icon, the item will either be placed in an existing table cell, or a new row will be created. There’s no need to create a new cell or row first, helping to simplify the process even further.
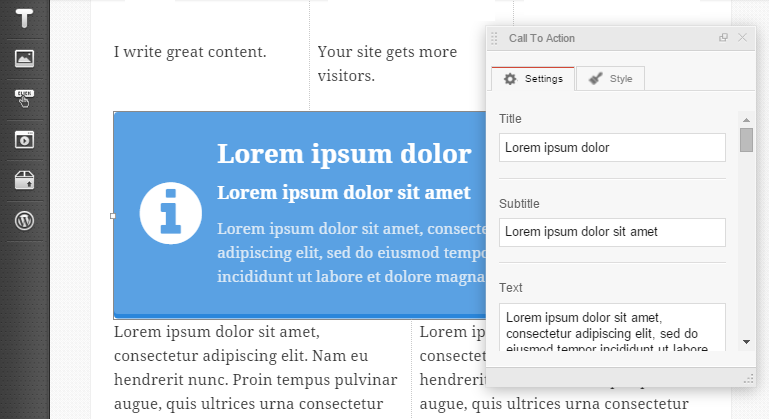
Once the new element has been dropped into place, the properties panel will be displayed. Through this panel, you can then customize the appearance of the element to match your requirements. Using the Call to Action element as an example, you can easily change the button appearance, including its color, shape, size, icon, and text.
![]()
![]()
The optional icon on the element can also be customized with a range of options, including animation effects.
8. Customize the Page Layout Appearance and Settings
To customize your page further, you can change the backgrounds of the entire layout as well as the individual rows and columns cells. This includes setting videos, including those from YouTube, images with the parallax scrolling effect, or just a plain color as the background display.
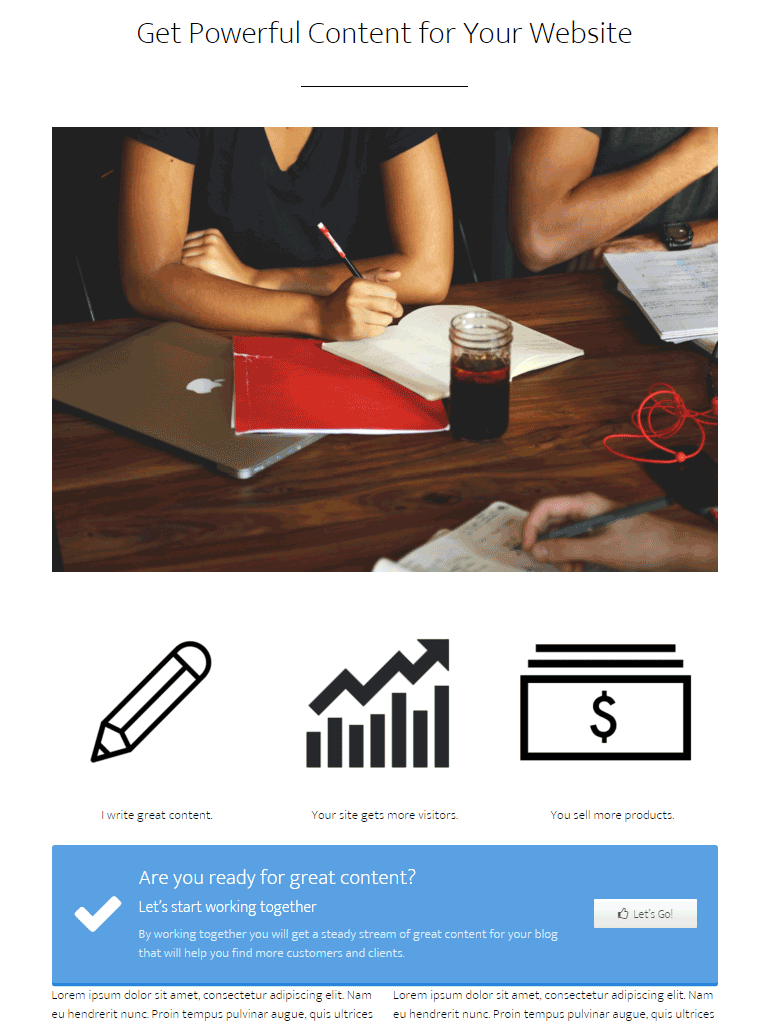
9. Preview and Save Your Landing Page
While the Content Editor gives you a good approximation of how your finished page will look, you can quickly preview your work at any point by clicking on the appropriate button. You can also save your page as you progress, and then publish it when it’s ready to go live.
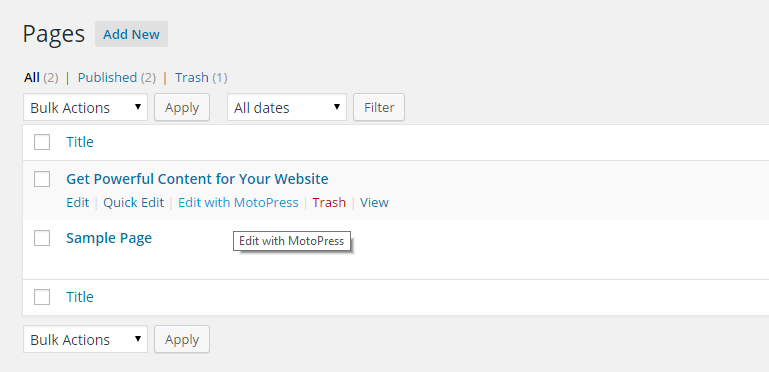
If you need to, you can easily open up any of the layouts for editing, through the WordPress pages screen.
If you want to hide the header, footer, and sidebar areas of your theme, then you must select an appropriate page template. The benefit of hiding this content is that is prevents your visitors from being distracted and allows them to focus solely on the content of your landing page.
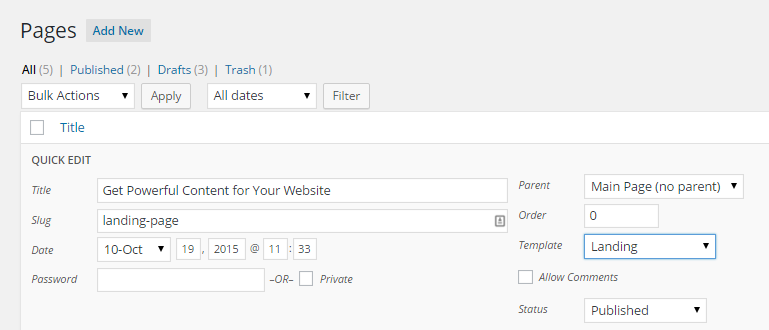
These full-width templates are often provided by your chosen WordPress theme and are sometimes called ‘landing page’ or ‘full screen’ templates. If your theme doesn’t include such a template, then you will have to create one yourself.
Now all that’s left to do is add a link to your new call-to-action page from the navigation menu or elsewhere on your site.
Final Thoughts On How To Create A Landing Page
I hope that you can now see how easy it is to create a custom landing page for your WordPress website with the MotoPress Visual Page Builder.
If you’re already familiar with WordPress, you should have no trouble getting started with this visual page builder tool. But even if you are new to WordPress, there’s still some good news – you will know how to create a landing page with just one instrument!
Thanks to the prebuilt page layouts and useful selection of page elements that come with this plugin, you should have no trouble quickly building a landing or sales page for your WordPress website. In addition, as you can easily add third party widgets to your custom page layouts, the MotoPress Visual Page Builder plugin can be used to create a wide range of pages for your website, including home pages, about pages, or any other part of your website.
What type of custom page layout do you plan to add to your page? Will you likely use the Content Editor? Perhaps, you found any free landing page plugin WordPress alternative? Please share your thoughts on this plugin in the comments section below.
Motorpress is the great content editor. No hassle when making a content in websites.
Hi Tobias,
The best solution for the full width design is a theme
layout that allows to get it. Also you can set the Full Width style to
the Rows on your landing pages for example. You are able to apply custom
styles too. You can find more information on how to style the rows and
columns at our documentation
https://motopress.com/documentation/wordpress/plugins/
You are free to contact our support team if you have any additional questions.
Hey Guys, Great new Features. But i have two Questions: Is it possible to make with Motopress a full-Screen Area with Background Color? It´s a good thing for modern Landingpages.
The other Question:
Is it possible to make fullscreen-Content Areas? With the Slider is it possible, if you set it to full screen (in the Slider Settings).
But if i want to do only a Image on Fullscreen i don´t see this function to set on fullwidth.
Greetings from Germany