A Brief Guide to Style Rows and Columns with MotoPress Visual Editor
Engaging columns and rows remain the most eye-catching way to attract visitors’ attention. Thanks to the MotoPress Visual Page Builder plugin for WordPress, it’s easy to split your post content into any number of columns and rows with any dimensions you like. This is accomplished by simple dragging and dropping.
If you want to create a custom style for your columns and rows MotoPress plugin is a helpful tool. The short guide below will show you how to quickly add stylish elements to your page or post.
Just follow these simple steps:
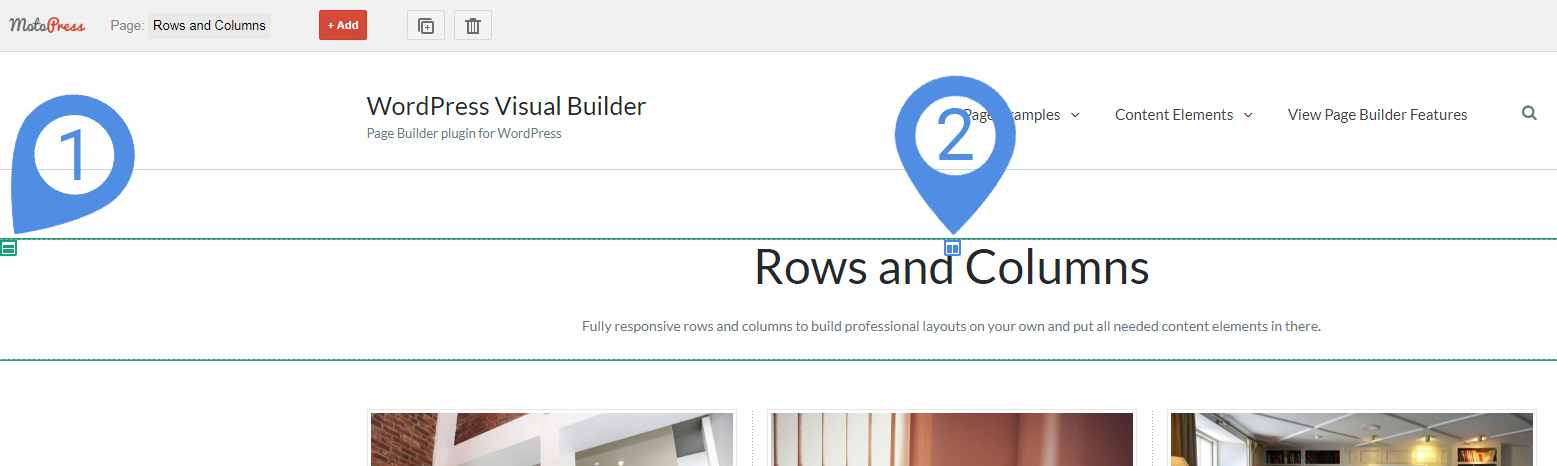
1. First of all we need define whether we want to style Row(1) or – Column (2) and select it
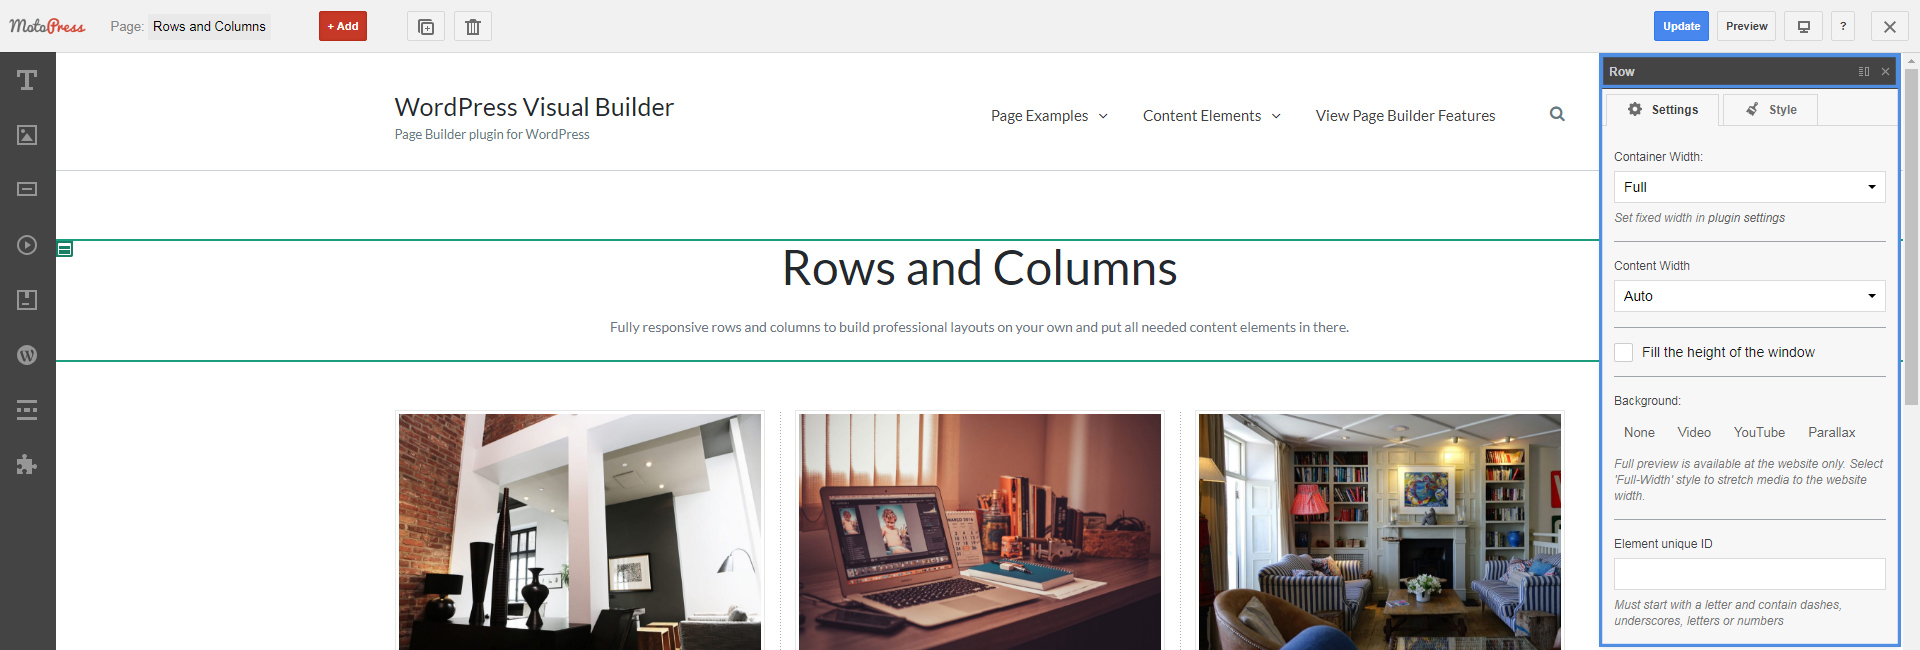
2. Then navigate to dialogue popup with properties. As I’ve selected a Row I can see its properties like Container/Content Width, Full-Height, Background Type (self-hosted video, YouTube or Parallax). Also, there is an ID box that might be useful for creating anchor links to certain rows.
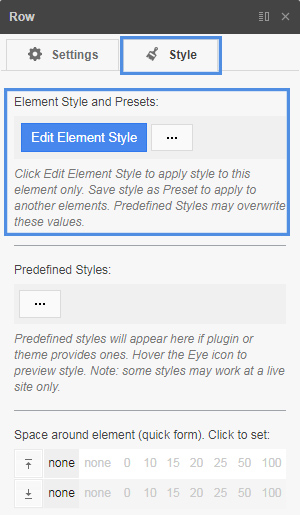
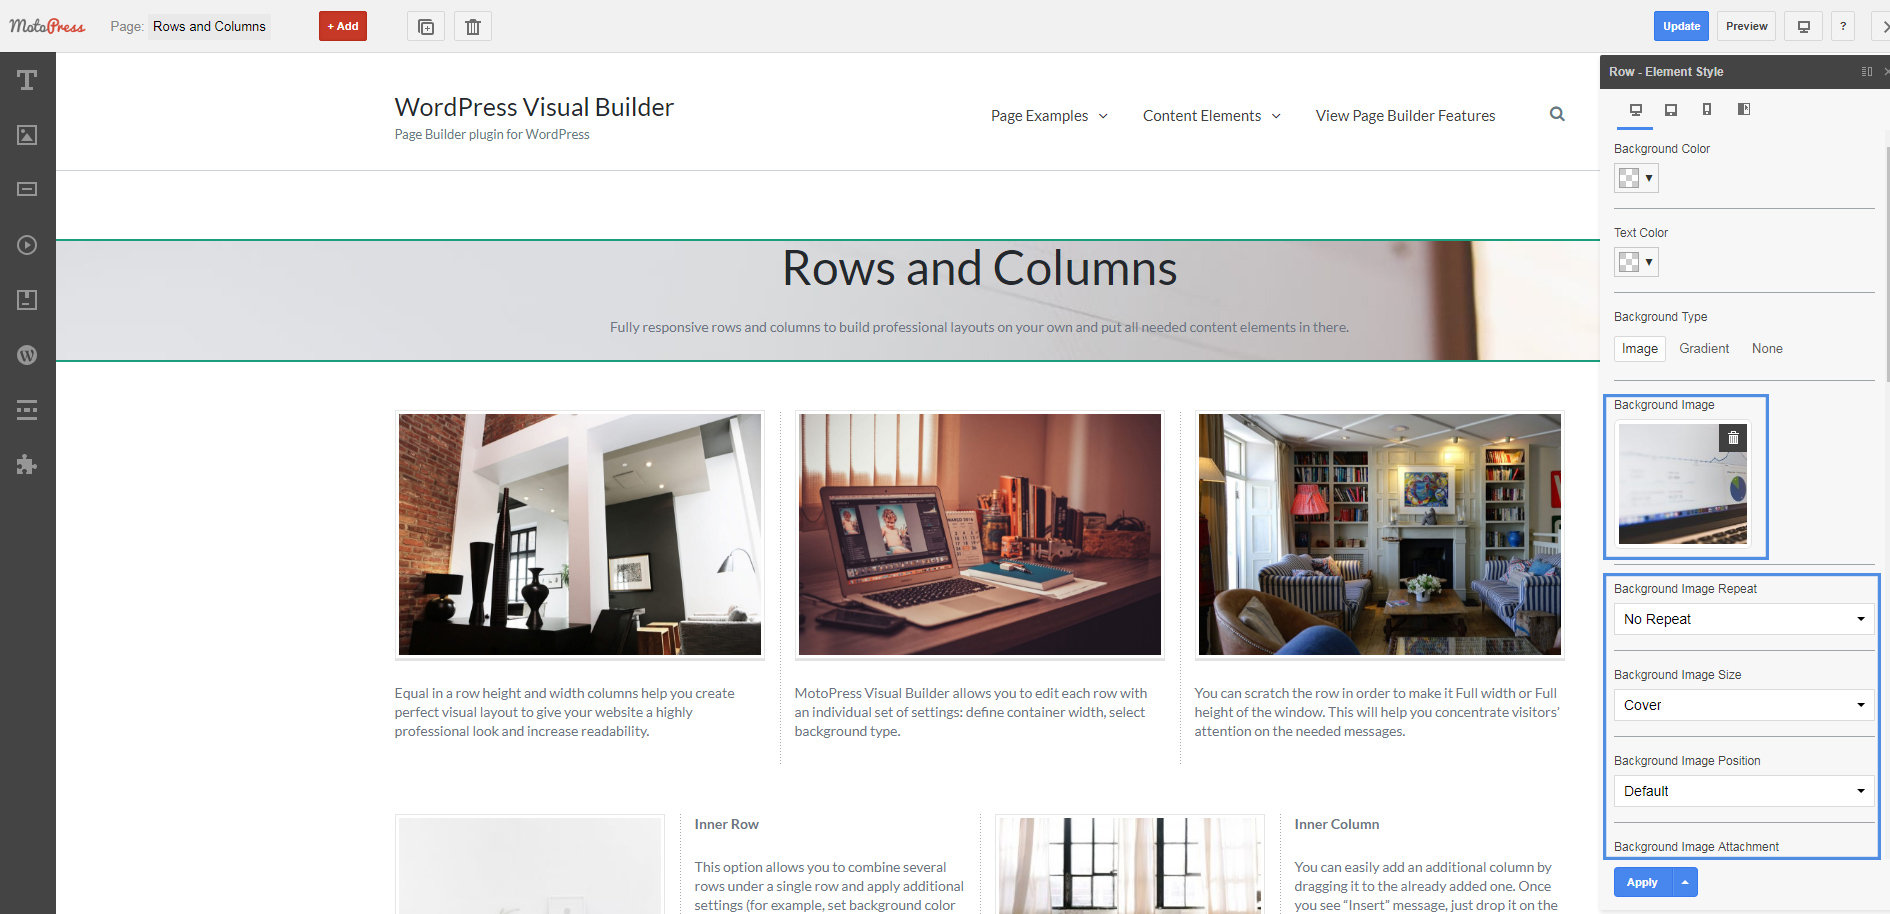
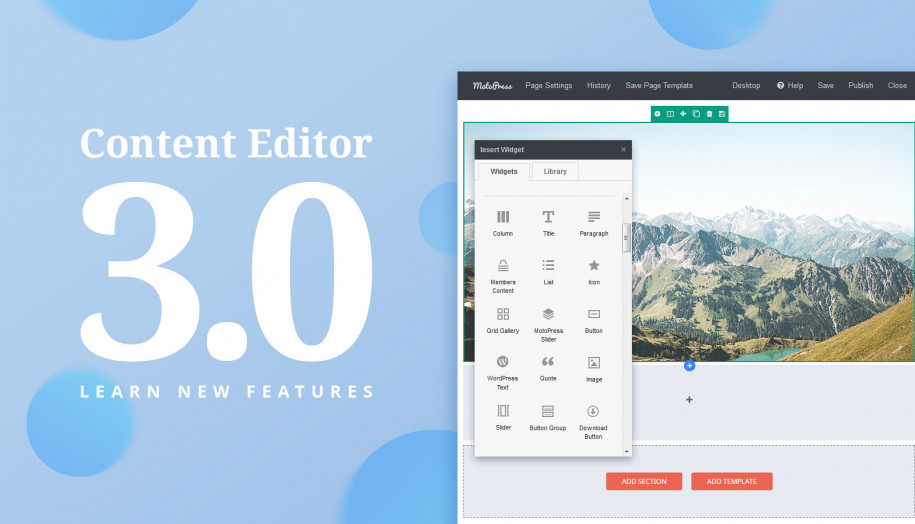
3. But this is only the beginning of advanced styling. So we switch to Style tab and open Style Editor for Elements
4. Here I set Background Image and configure its parameters if needed (Repeat, Size, Position, Attachment) I recommend trying Attachment Fixed parameter. If you prefer colored background you can choose it with a color picker or use the exact color code
5. Scroll a little bit down and set up Padding Top and Bottom attributes to increase the height of the row.
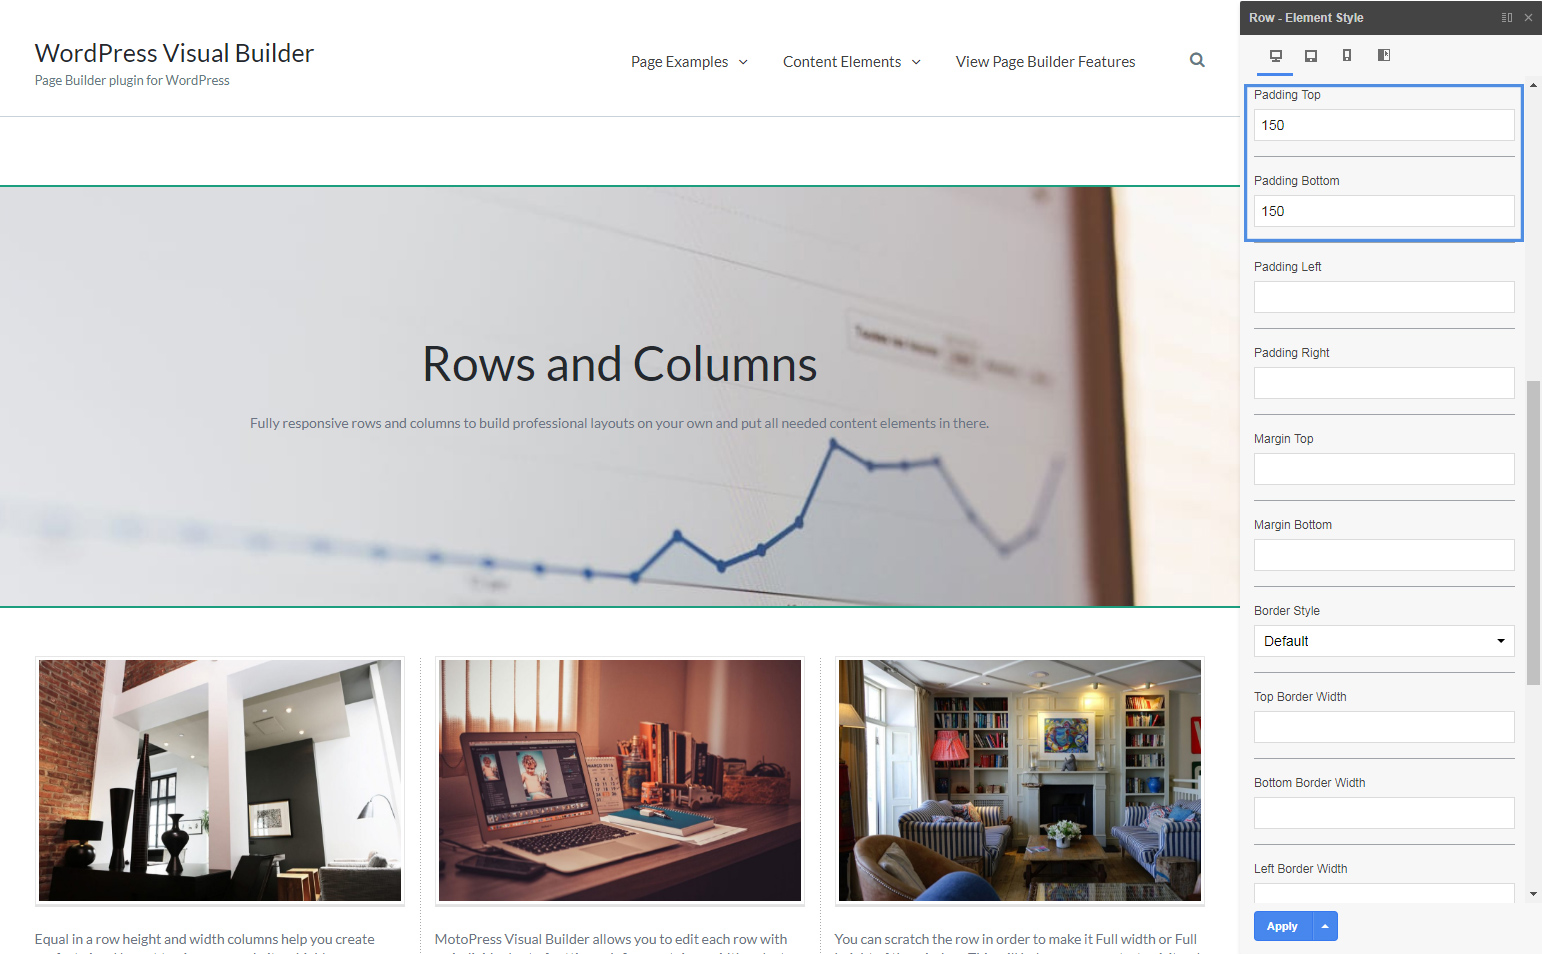
That’s enough for my row but as you can see there are parameters to configure margin and border styles – border type, the width of each side (right, top, left, and bottom), border color, and even border radius.
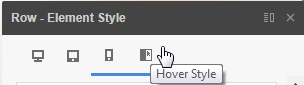
6. If you need to adjust your style for other devices you can switch to tablet or mobile layouts and configure them. There is also a hover mode available so you can apply completely different styles and you will see them by hovering the mouse over the row or column.
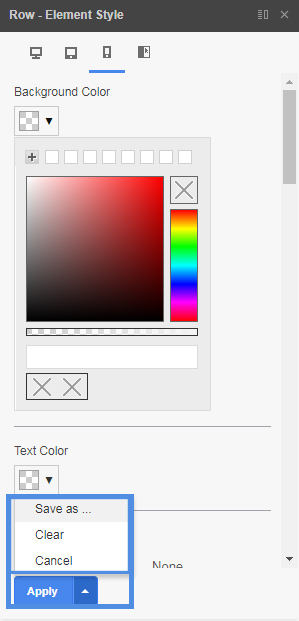
7. When you are done you can choose whether you want to apply this style just for this row or save it as Preset and use it for other elements, rows, and columns. So you can save your time re-using the same style further at your website.
Hope you’ve enjoyed this helpful overview. This Style Editor tool is available for each element under the Style tab so you can use it to adjust button styles, text elements, etc.
this doesn’t seem to work. I am putting the code into the motopress options but it doesnt show up under styles when im editing my page?
Hi Chad, could you contact our support team and describe in detail what exactly doesn’t work so we can help you. Thank you in advance. To create a ticket, follow this link https://motopress.zendesk.com/hc/en-us
i figured it out. thank you 🙂 it was my error
i’m actually having another issue. i’ve gotten the color to work, but now when i use that custom color, i cant round the column. its just square?
Chad, our support team surely knows the answer 🙂 create a ticket, please https://motopress.zendesk.com/hc/en-us
Your plugin is great and very helpful !
I would like to suggest in the “Posts Grid” short code to add an option of selecting the thumbnail size (including custom thumbnail sizes – in the theme). I checked your code and you are using the “large” size so the only way to change that is using custom CSS in your options page.
Hi Michael,
Thank you for your kind words and for the useful suggestion! We’ll implement it in our upcoming MotoPress release.
Have a wonderful day 🙂